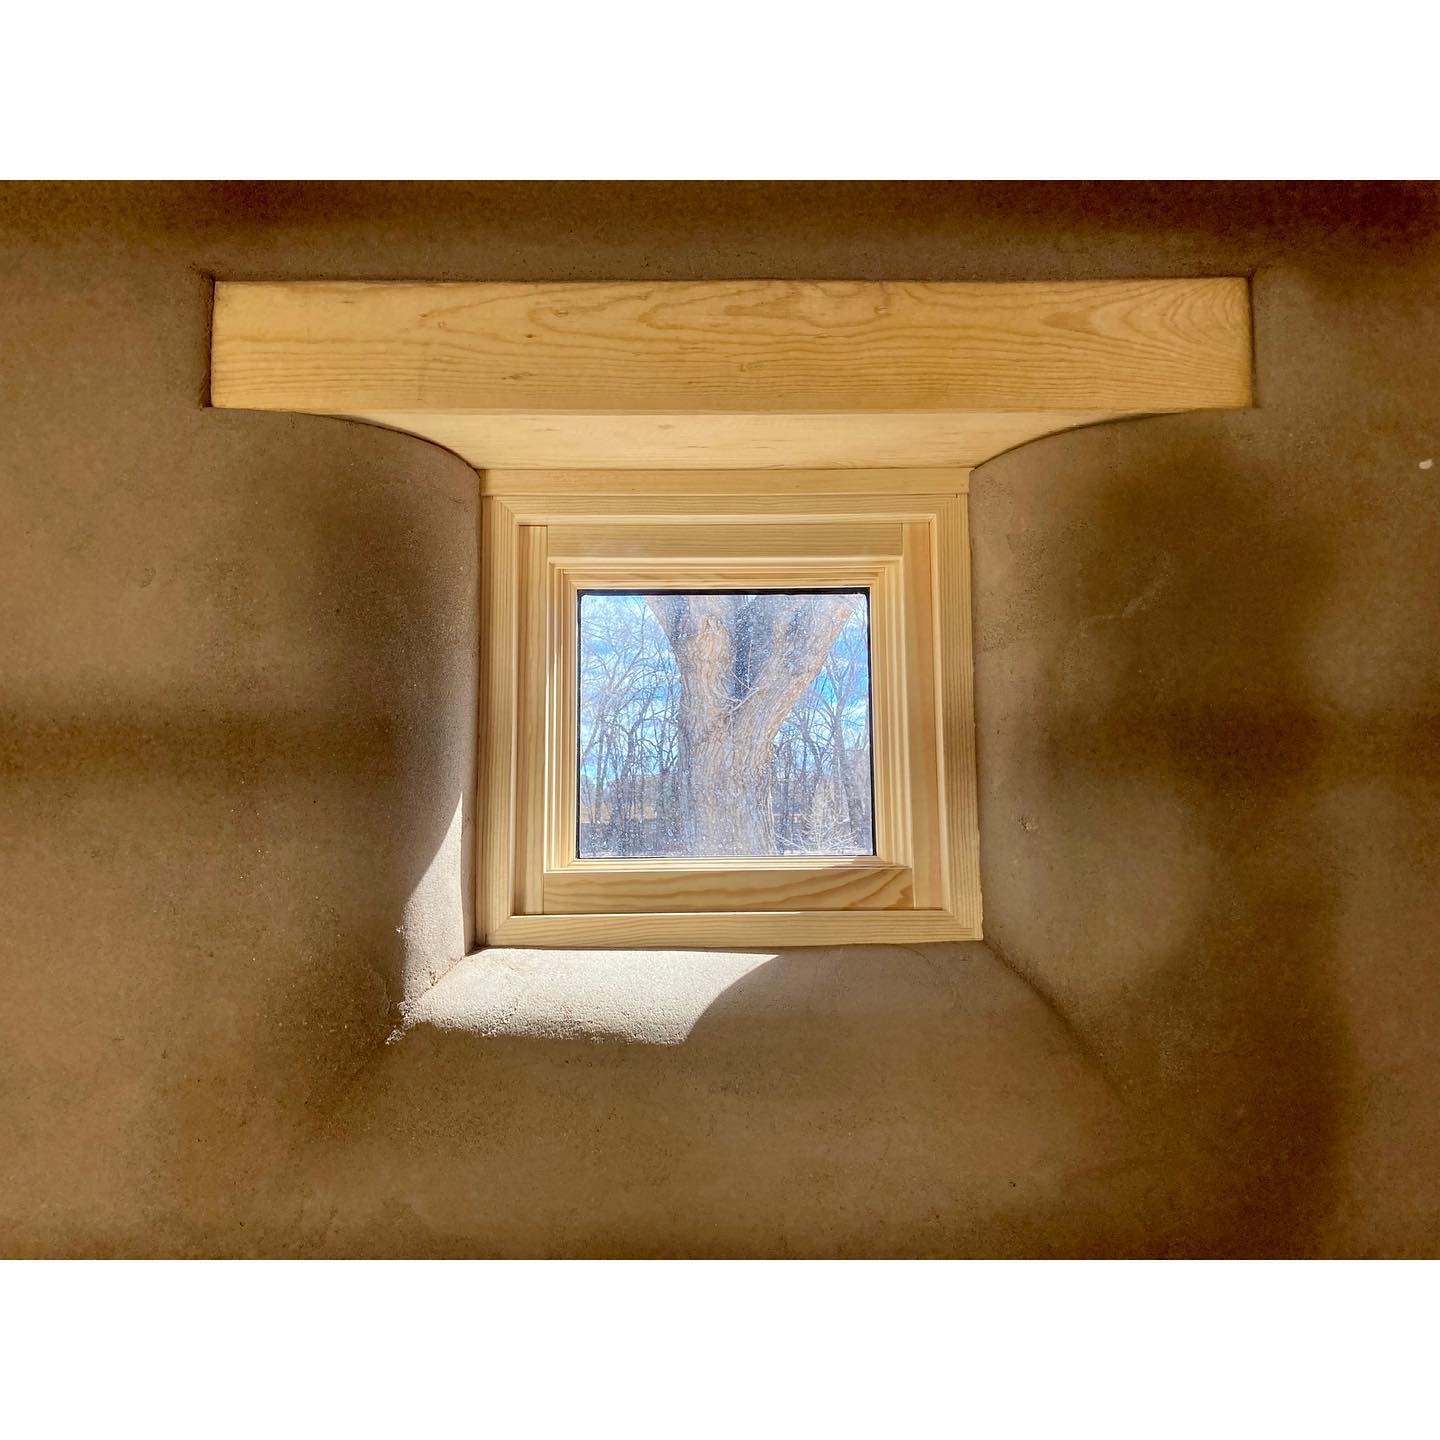
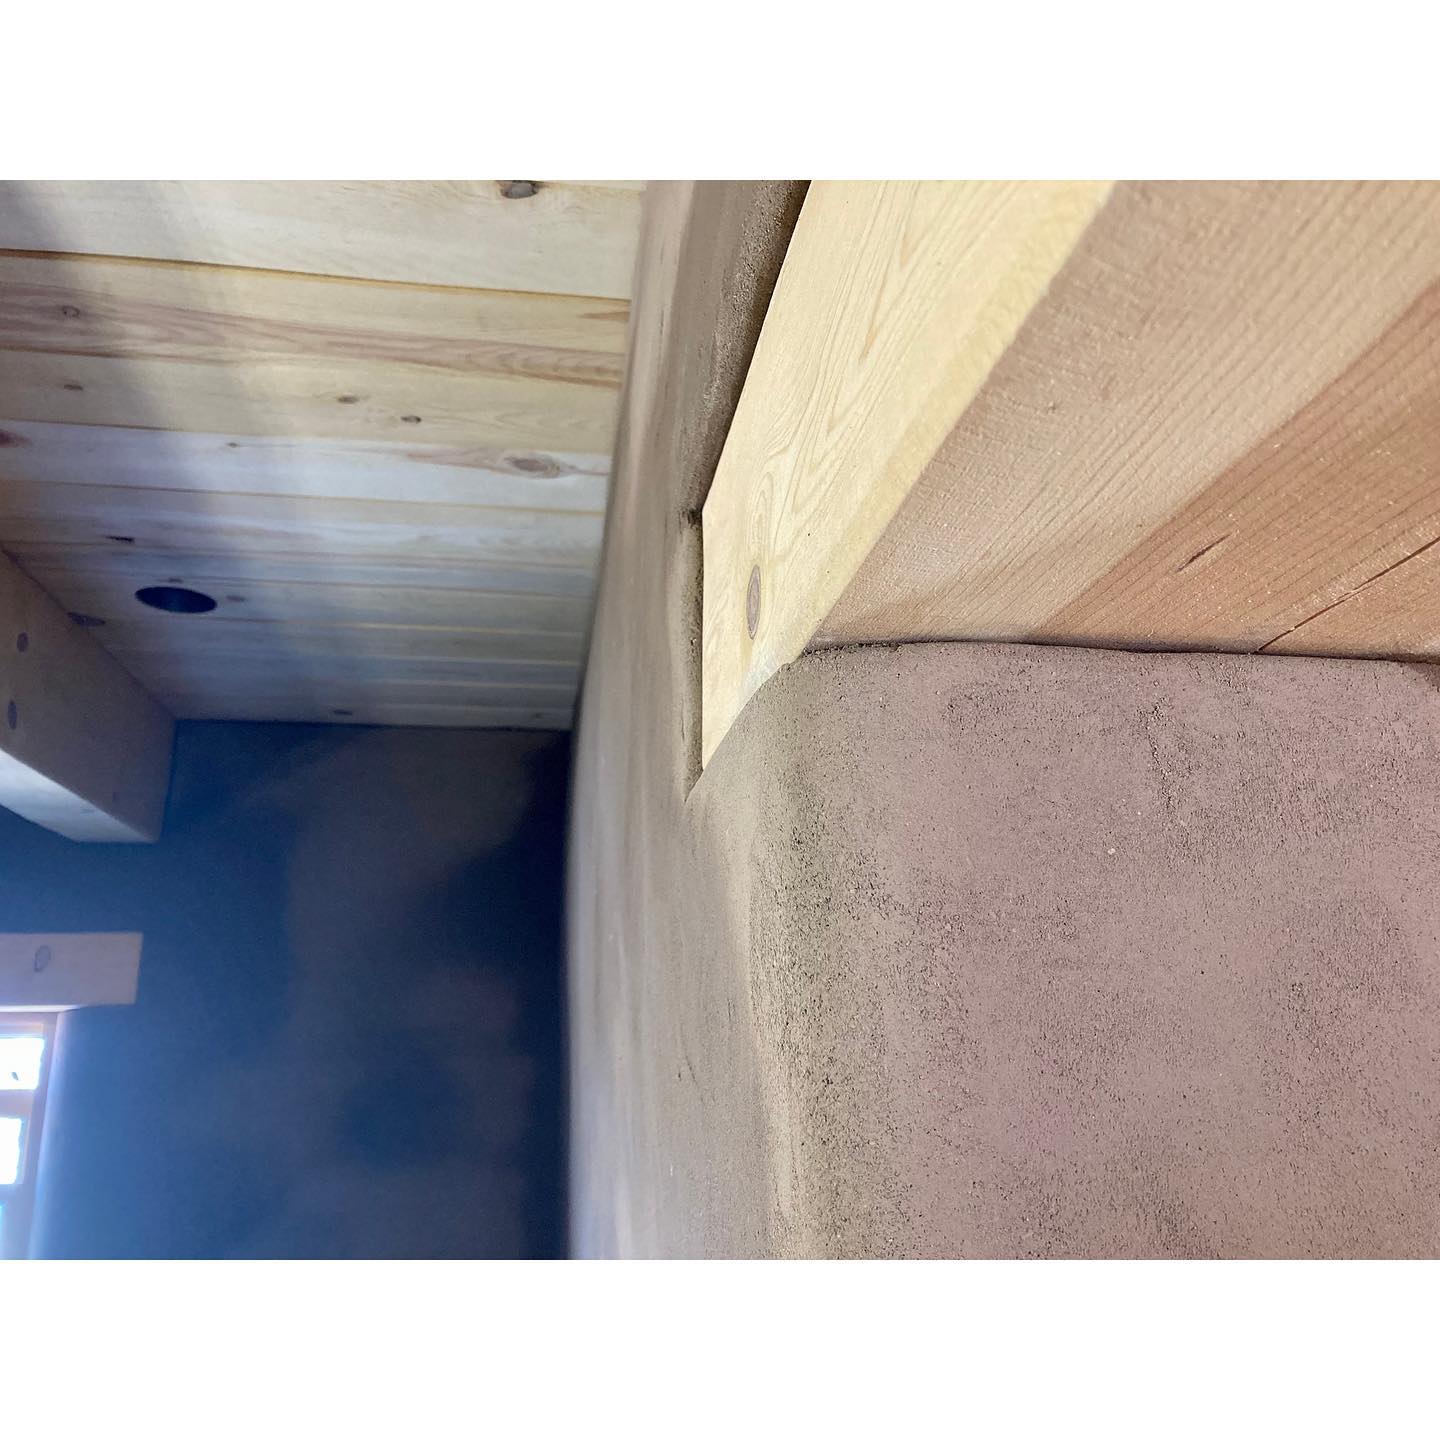
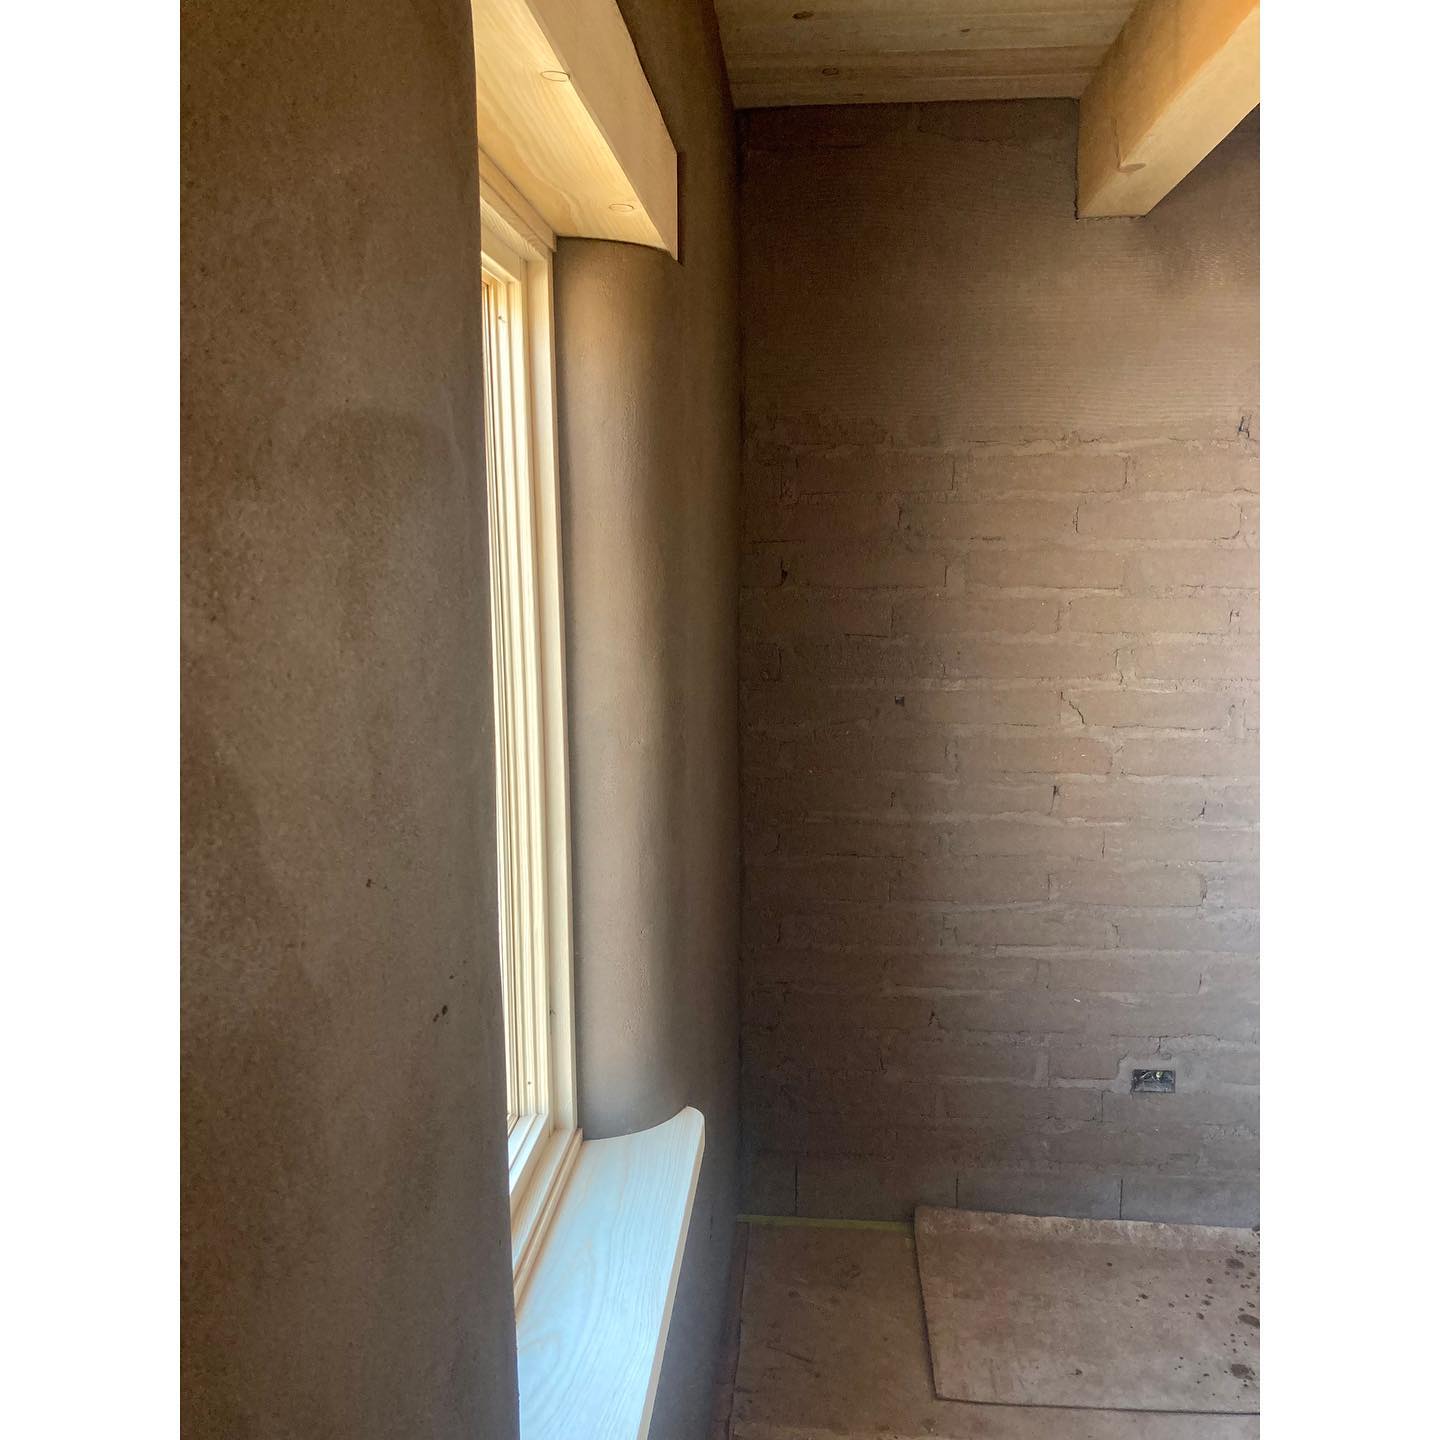
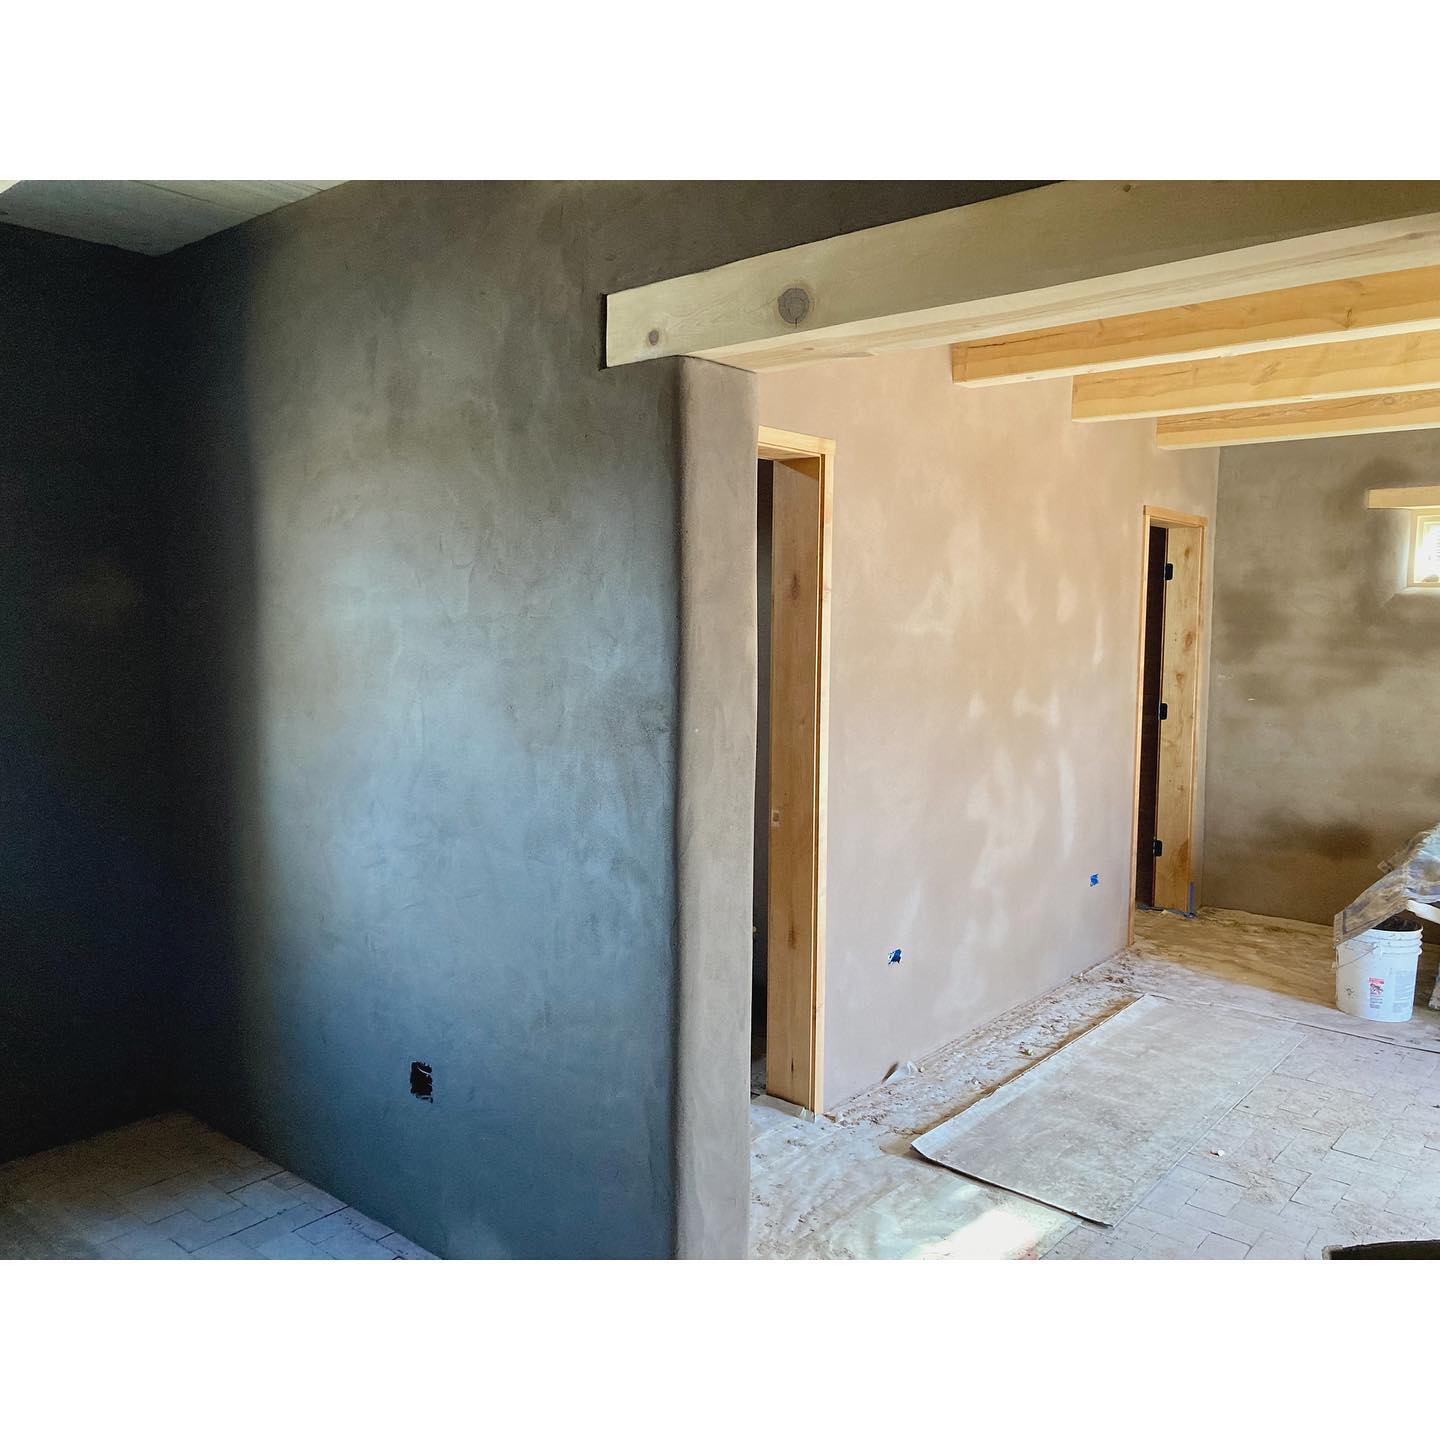
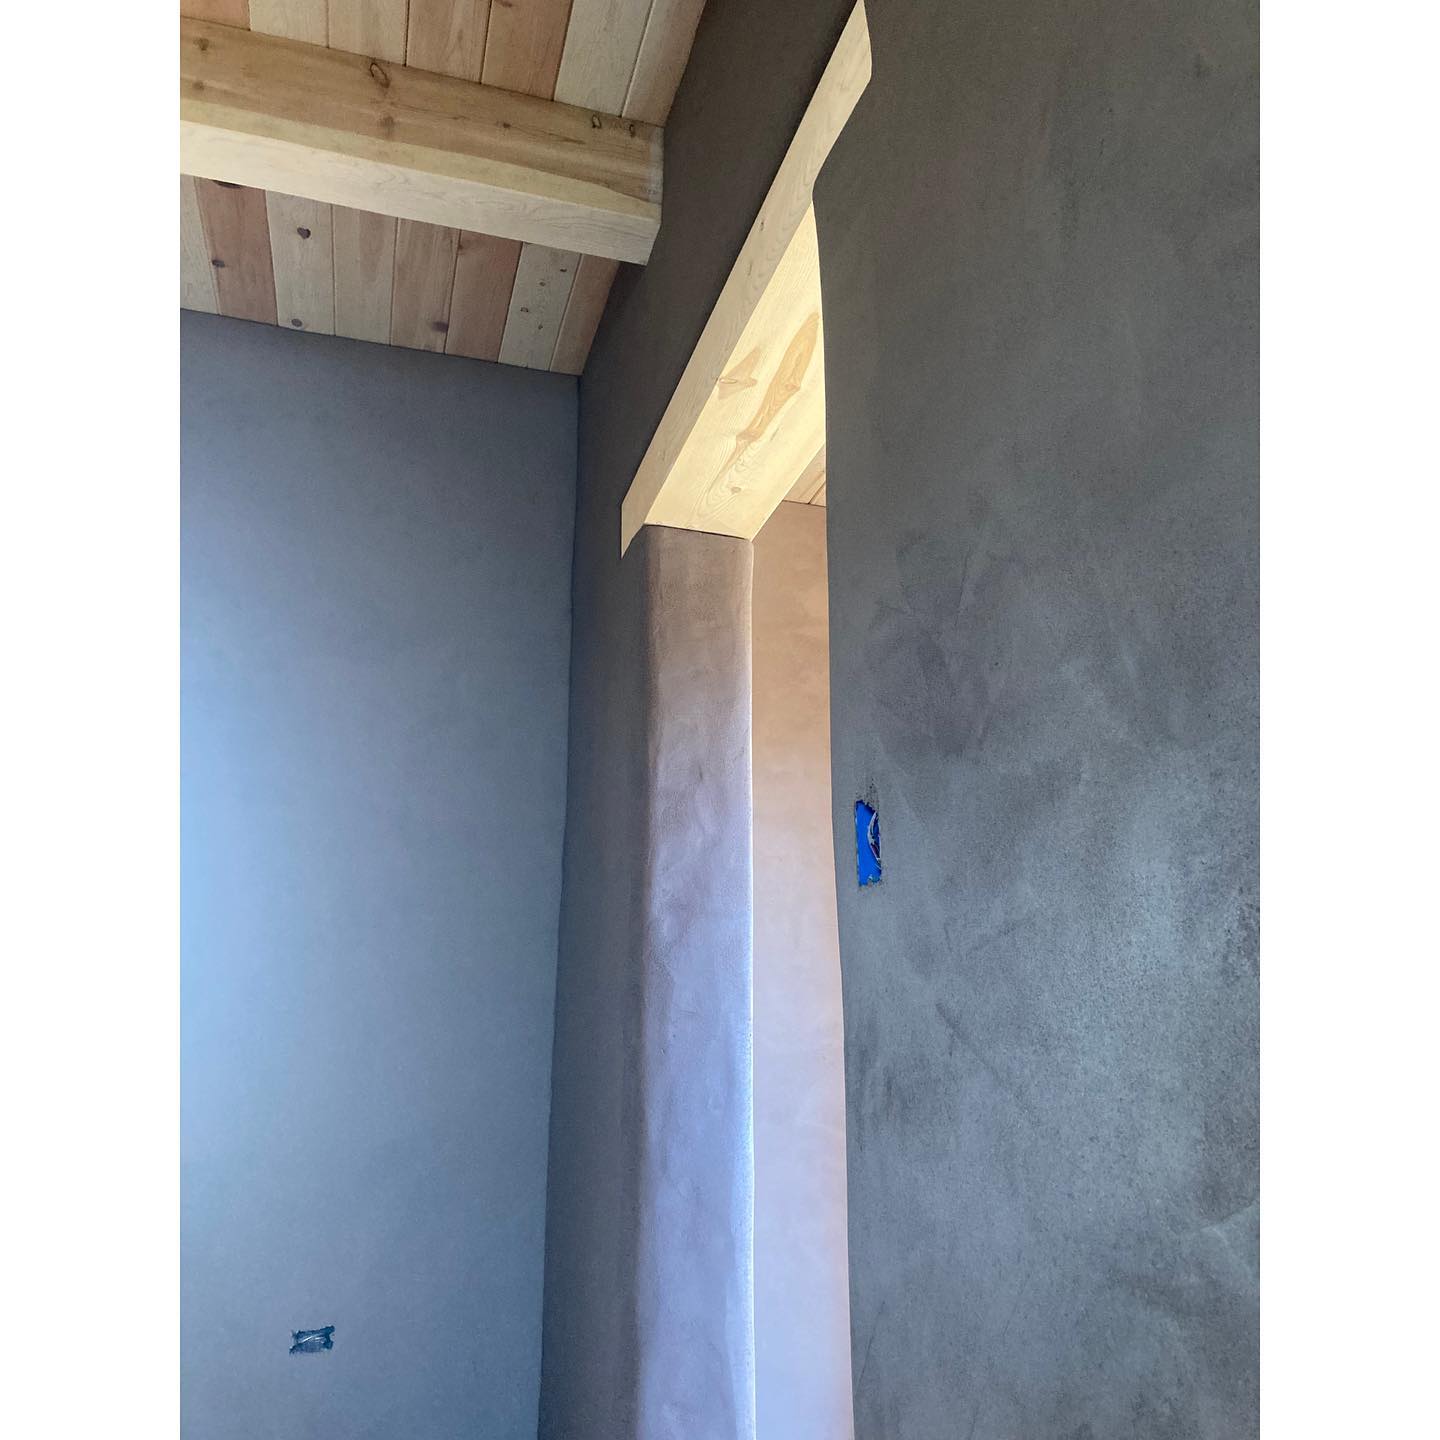
As on most projects we’ve done, we’re covering these dirt walls with… more dirt. This is a modestly sized house, and yet it has almost 4,000 square feet of surface to dress up, in addition to a bunch of windows and doors that all need careful detailing, and beams that need cleaning as we go. That’s not much square footage really, but it’s enough that we need a solid grasp of the level of finish required and how much work it takes to get there. We must consider the fact that we’re a small company with limited man and woman power, that we have a budget and timeline to be mindful of. We also need to be mindful of the *kind* of building we’re working on: the thing is made of dirt, and has walls that, while built true and plumb, are not flat. With all this in mind, this is how we do it: The adobe walls all get rasped to bring the odd 11″ trapezoidal adobe roughly back into line with its neighbors. We do this to make sure the wall doesn’t have “too much” topography, and to reduce cracking in our plaster. Except for at windows and over the bond beam, where we do a scratch coat of gypsum or mud, the entire wall gets just a single coat of earth plaster. This is the same dirt we used to lay the adobes, just with more sand. Before we begin, we do a couple samples of different ratios of sand and dirt to see how it works on the wall. Once these have dried, we know what our what our mix is and can get to work. Because we do it all in a single coat, it is impossible to create a surface that is flawless in the same way a sanded sheetrock wall is “flawless.” Rather, our idea is to let the plaster follow the wall; all we’re doing to fairing out a whole bunch of jagged little shapes, softening and connecting them into a single rolling surface. On the frame walls, we used a slightly different mix, but are still really just covering everything in mud. This worked beautifully, and goes a long way toward giving these walls the same feel and texture as the masonry walls.
Mar 27, 2022