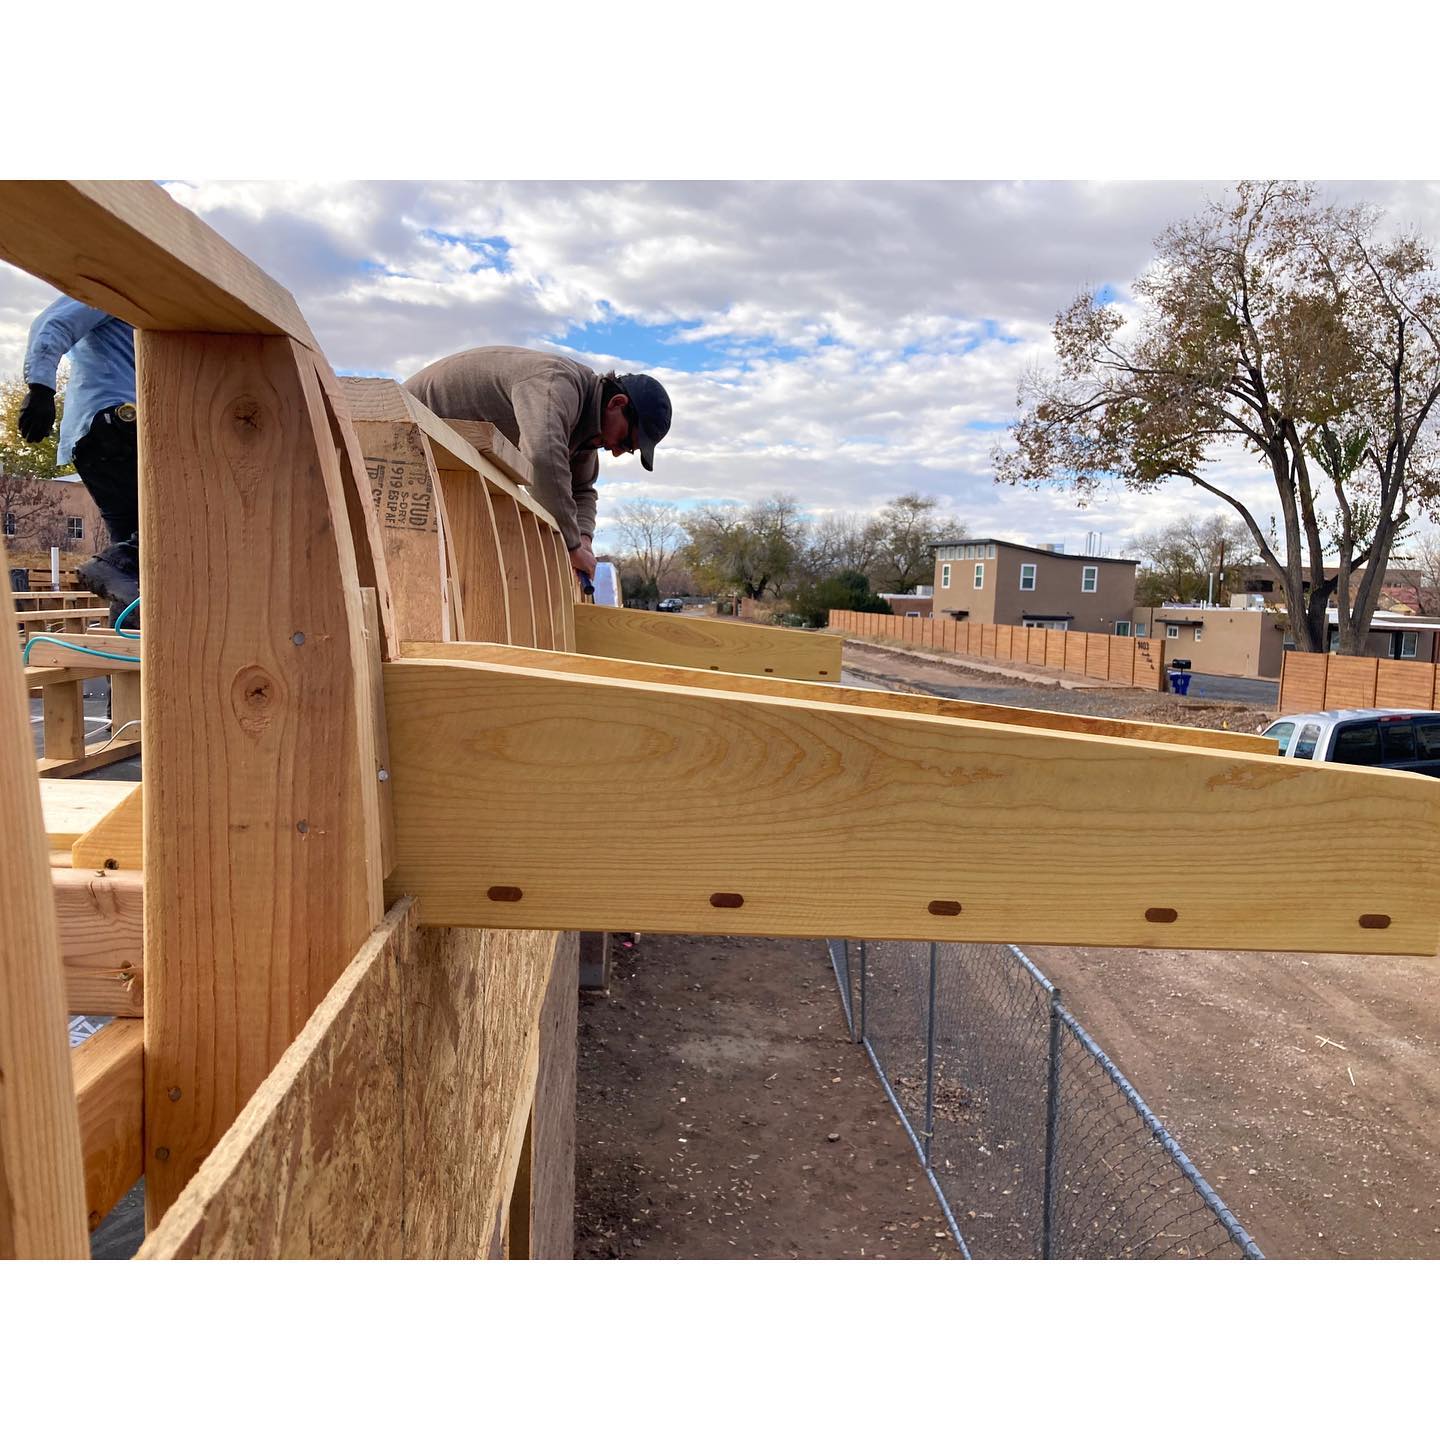

Outside, Kenny, Nathan, and Sławomir have been working hard to get a roof on this house before winter. In this phase, the house starts to get a bit of a spaceship cupcake look, but we promise you it’s for good reason. After the ceiling deck came papering and taping the seams for our air sealing requirements. From there the parapet walls get framed. Back in the day, the adobe would just continue up for the parapets. In some ways what we’re doing is more complicated, but modern building code and additional insulation requirements mean that the parapets have to be taller, so framing them makes a certain sense. The parapets are sheathed with OSB and thermoply, sticking out 2″ from the wall when done. This will eventually plane out with the continuous exterior insulation. On top the of the ceiling deck, the pony walls transfer the load from the sloped rafters to the big beams below. For drainage, we put canales as needed, using as few as possible. Canales are a lot of work, and they can be problematic places for roofing and stucco. Many adobes and other “flat” roofed homes have closed canales that penetrate the parapet wall. We prefer open canales (like a V shape), which are a bit more work, but will be less prone to getting clogged with debris in a big rain storm. The roof crickets are built into the framing instead of being added on top of the roof deck. It’s a little more work to lay out and figure the slopes, but it saves material and makes for a more seamless roof in the end. Roger and Anthony, our electrical and plumbing subcontractors, have also been doing quite a lot of work on the roof, putting in gas lines, vents, and light boxes.
Nov 24, 2021