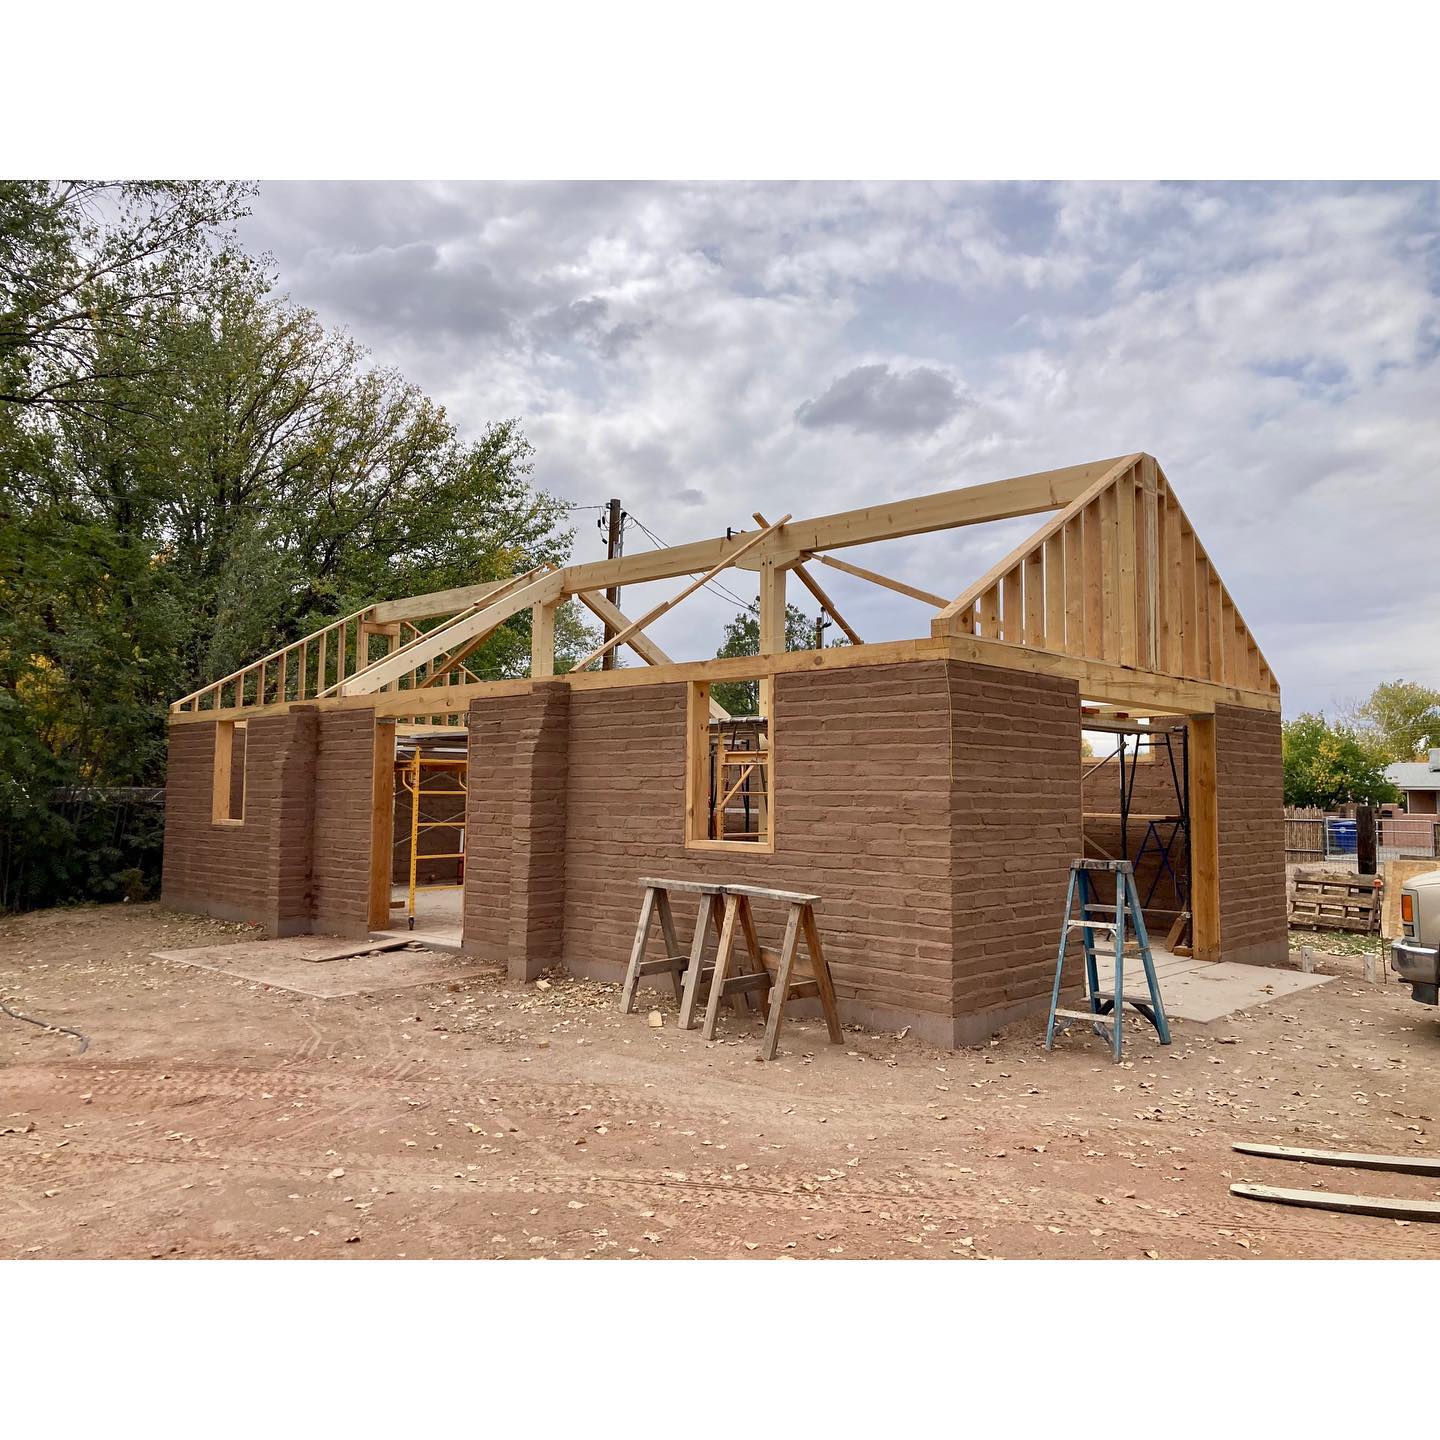
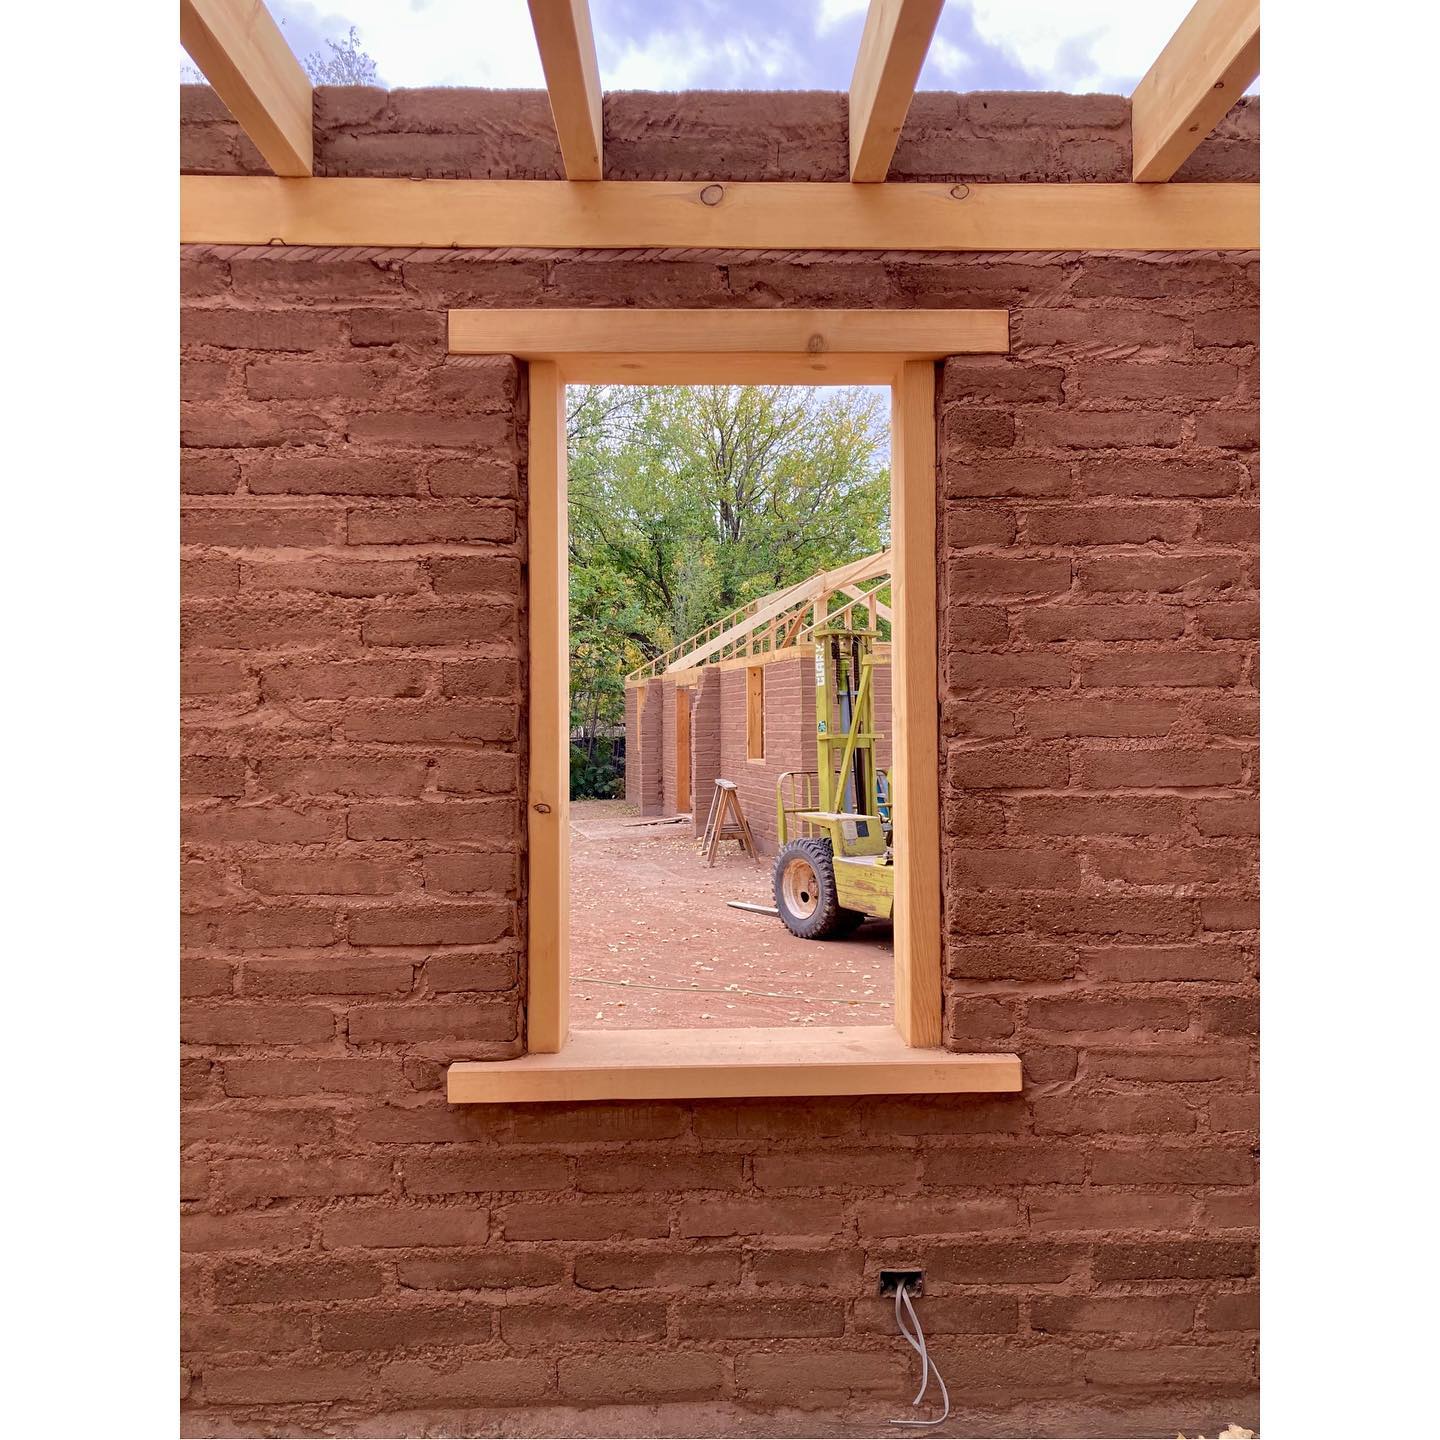

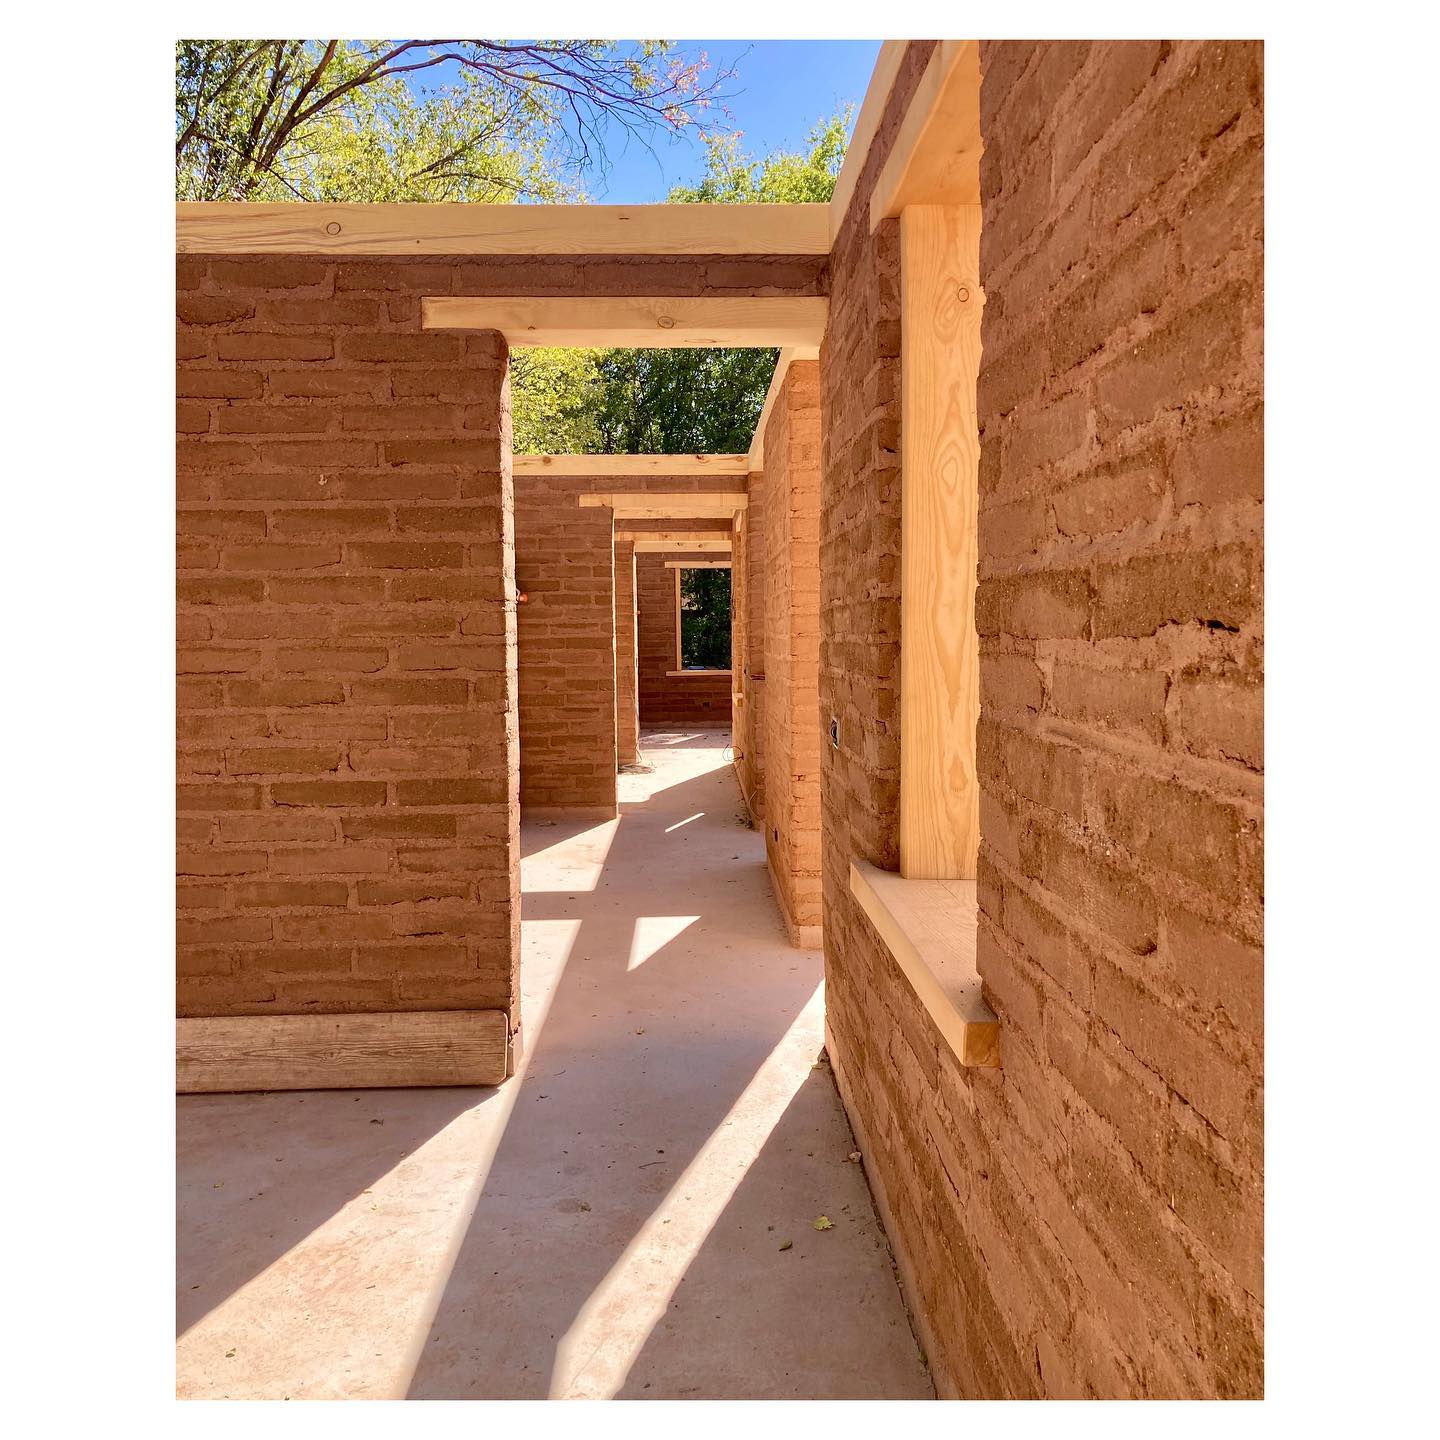
The last adobe for this project was laid yesterday, and we are now well into the carpentry phase. Most of the lumber we are working with is locally cut rough sawn ponderosa from our friends at Wholesale Timber and Viga in Bernalillo. The batch of lumber we received for the ceiling beams was particularly nice, so we’re pleased to be able to feature them so prominently. We called for a somewhat unusual lumber dimension on this project. The window bucks, headers, and ceiling joists are all 3x ponderosa pine. Rather than the chunky beams and vigas typical of the pueblo revival style, we looked to northern New Mexico for inspiration, particularly the historic pitched roofed adobes you find in the Las Vegas area. Since we’re a good way into putting up rafters, beams and joists, now may be a good time to say a little bit about how we go about that work. Everybody in construction is conversant in the ‘on-center’ way of laying out framing members. In adobe buildings, anytime we’re dealing with plywood or sheetrock, we use that same language, and all the framing members get laid out such that their centers will play nicely with 8′ and 12′ sheet goods. Anytime we’re building a wood ceiling, though, we use an entirely different approach. In its own little way, this is a nice break from the modular strictures of modern construction. The drawing for an adobe home might say, maybe 6×10 36″ O.C., but we interpret that as a maximum–not as a literal rule that must be followed. For each individual space in a building, the beams are laid out to evenly divide the space. So, for example, on our current project we’ve got 36″ spaces, 25 1/2″ spaces, just to name a few. We never use centers; the spaces are what count. The oddball measurements are just fine. Since we’re not using any sort of ‘standard’ covering over this, any dimension can work. What’s more important is how the beams fit into their room. Depending on the floorplan, this can be quite a tricky operation, especially when a single beam might span more than one room, and needs to work well in both of them. There are several rules we follow when doing this, but the desired result is just that everything be obviously intentional–no awkward placements right up against an adjoining wall, no vent hoods having to bend around a beam, etc. While figuring out the layout and position of individual pieces, we also take time to evaluate each beam for defects like pitch pockets, wain, weirdly sawn knots, and so on. We also look for particularly beautiful pieces that have that striking grain pattern, pleasing constellations of tight knots or interesting splashes of color. Lesser beams end up in laundry rooms, perhaps a bathroom, and we try to make sure that the best end up over a bed, and in the living room. Each beam gets lovingly ground with a 36 grit disc on a 7″ grinder, hoisted into place, and nailed with 6″ ringshank nails. #adobehouse #timberframing #traditionalbuilding #finehomebuilding #adobeconstruction #roughcutlumber #locallumber #adobe #newmexicotrue #themasonrysociety #ceilingjoists
Oct 24, 2023